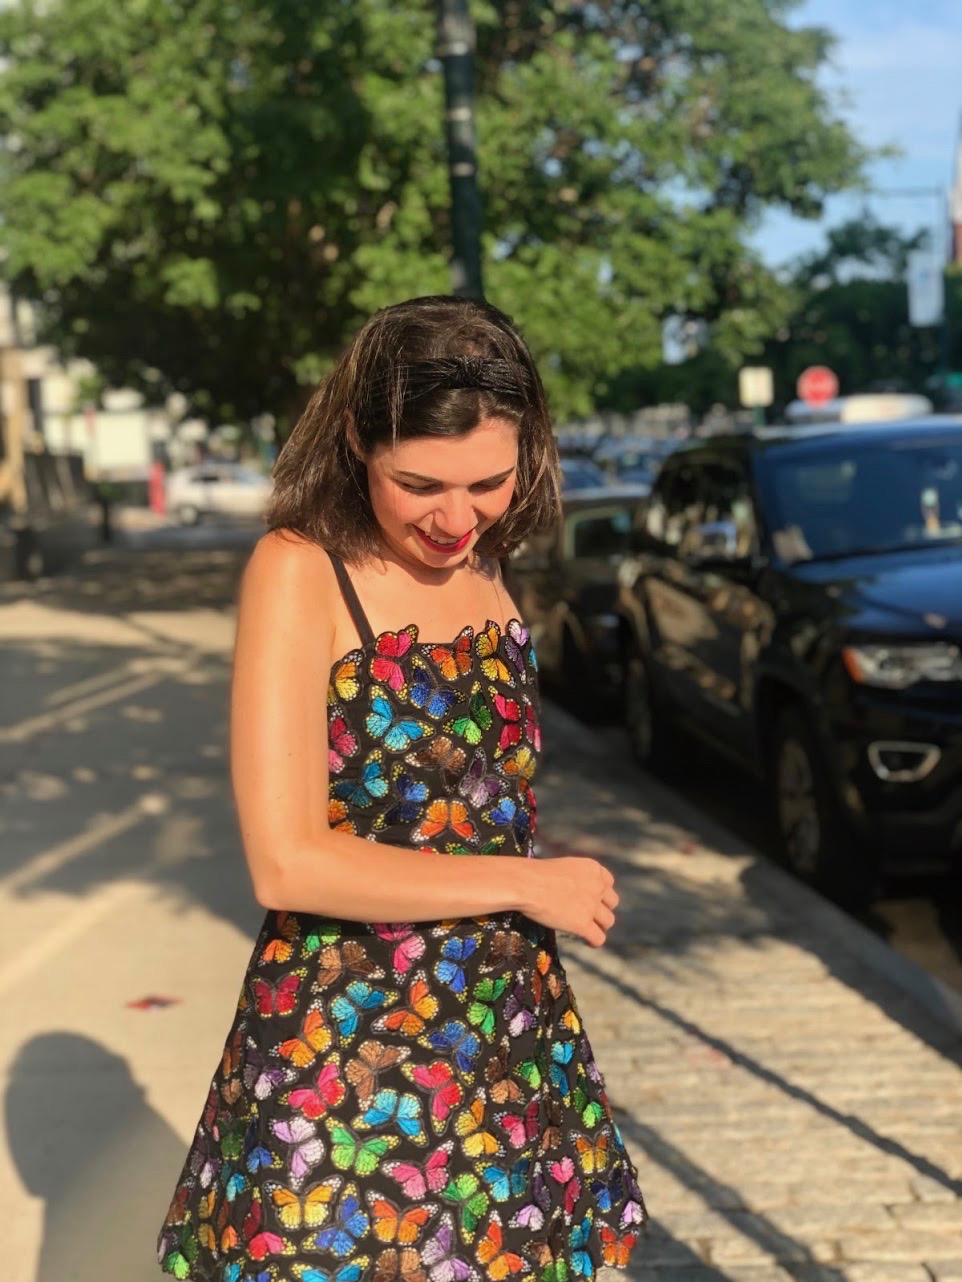
DIY Butterfly Dress
Hi friends! Today I'm sharing probably one of the easiest (if not THE easiest) DIY I have on the "fashion" section of my website. This DIY is perfect if you want to design your own dress, but don't know how to sew and/or are new to crafting in general. This DIY is extra perfect if you want to channel your inner Dorinda Medley.
For those of you who don't know, Dorinda is a cast member on one of my favorite shows, The Real Housewives of NYC (gotta love reality tv). She has a spunky style, not so different from my own, and when I saw her butterfly dress from the Season 9 reunion, I knew I had to recreate it. And this brings us to the DIY...
DIY Butterfly Dress Materials:
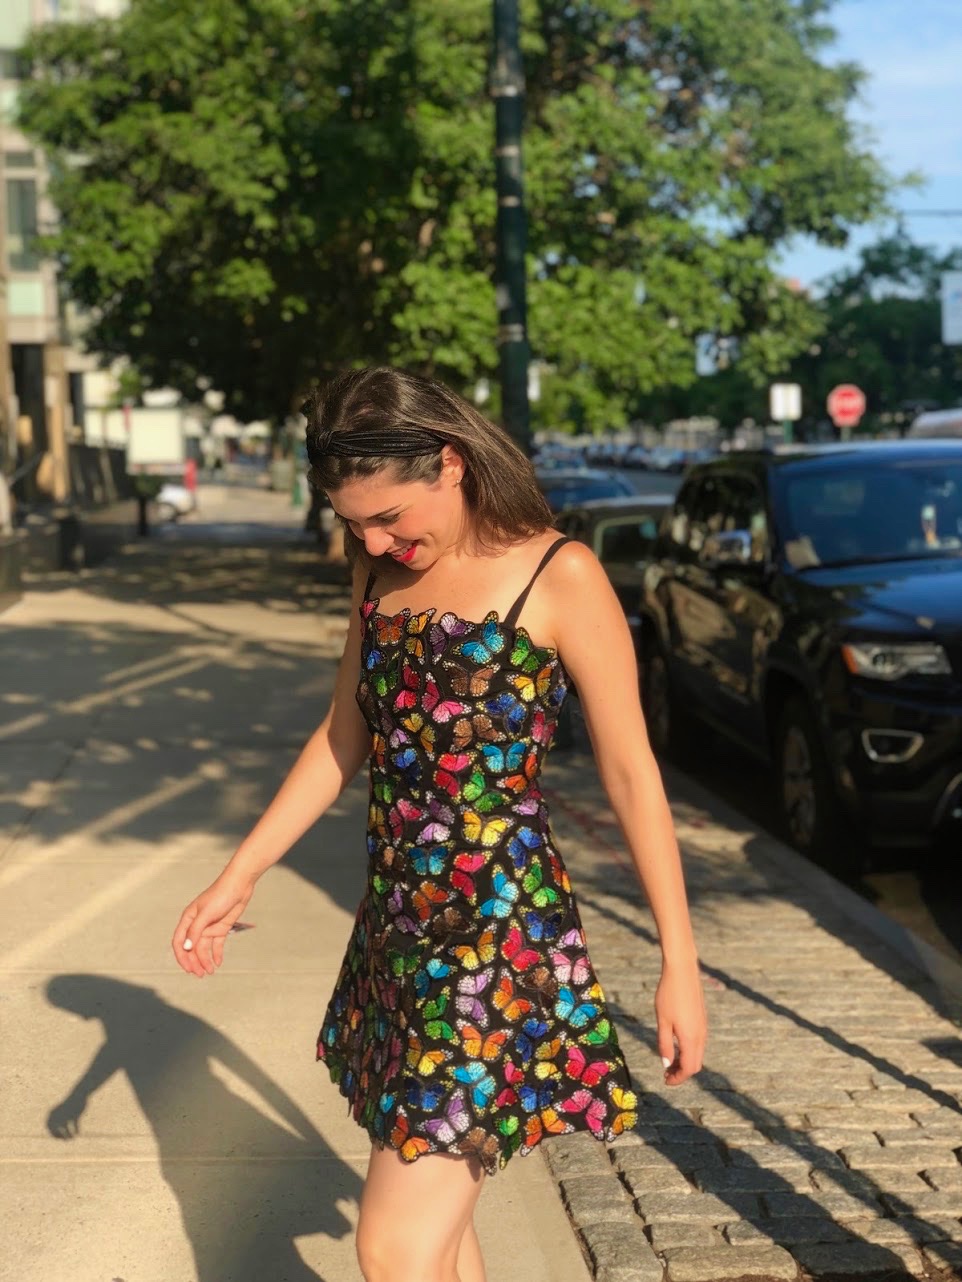
- Base dress: this is the dress you'll be applying the butterfly patches to. I used a plain black skater dress from Nasty Gal (no longer available, but you can find something superrr similar here), but you've got some freedom here. This DIY would pretty much work on any base dress, so go for whatever your heart desires (or whatever you already have sitting in your closet that needs a makeover.
- Butterfly patches: for the patches, I'd highly recommend iron-on ones (as opposed to sew-on ones) because they're easier to apply. I used these butterfly patches from a Chinese e-commerce site called DHGate. I needed about 120 butterflies for my dress, and I'm a size small. These butterfly patches were my first purchase from DH Gate, and I can confirm they looked exactly like the picture and I had no issues with the site whatsoever. The only thing to point out is that because the items came from China, shipping took about a month.
- Iron & ironing board: I think this is pretty self-explanatory. Only thing to really point out here is that you'll need a proper iron and ironing board...a standup steamer won't work here.
DIY Butterfly Dress Instructions:
Uhh...just iron the butterflies onto the base dress? That's really all there is to it! I do have a few tips though:
- The adhesive on the back of the butterflies does take some time to melt, so let the iron sit on top of the butterflies for a good ~10 seconds before moving on to the next patch. I also had the best luck with melting the adhesive when my iron was on the max steam mode and highest temperature setting.
- While you want to keep the iron on top of the butterflies for long enough so the adhesive melts, you don't want to keep it on too long, or else the colors from the butterflies will transfer onto the iron, and can stain the next thing you put the iron down onto. I don't think this should really happen unless you keep the iron on a certain spot for like 30+ seconds, but to be safe, you can always put a thin cloth between the butterflies and iron, so if any colors from the butterflies do transfer, they just get on the cloth and not the iron. The only downfall here is that the cloth will have to be thin enough so that the iron can still melt the adhesive effectively.
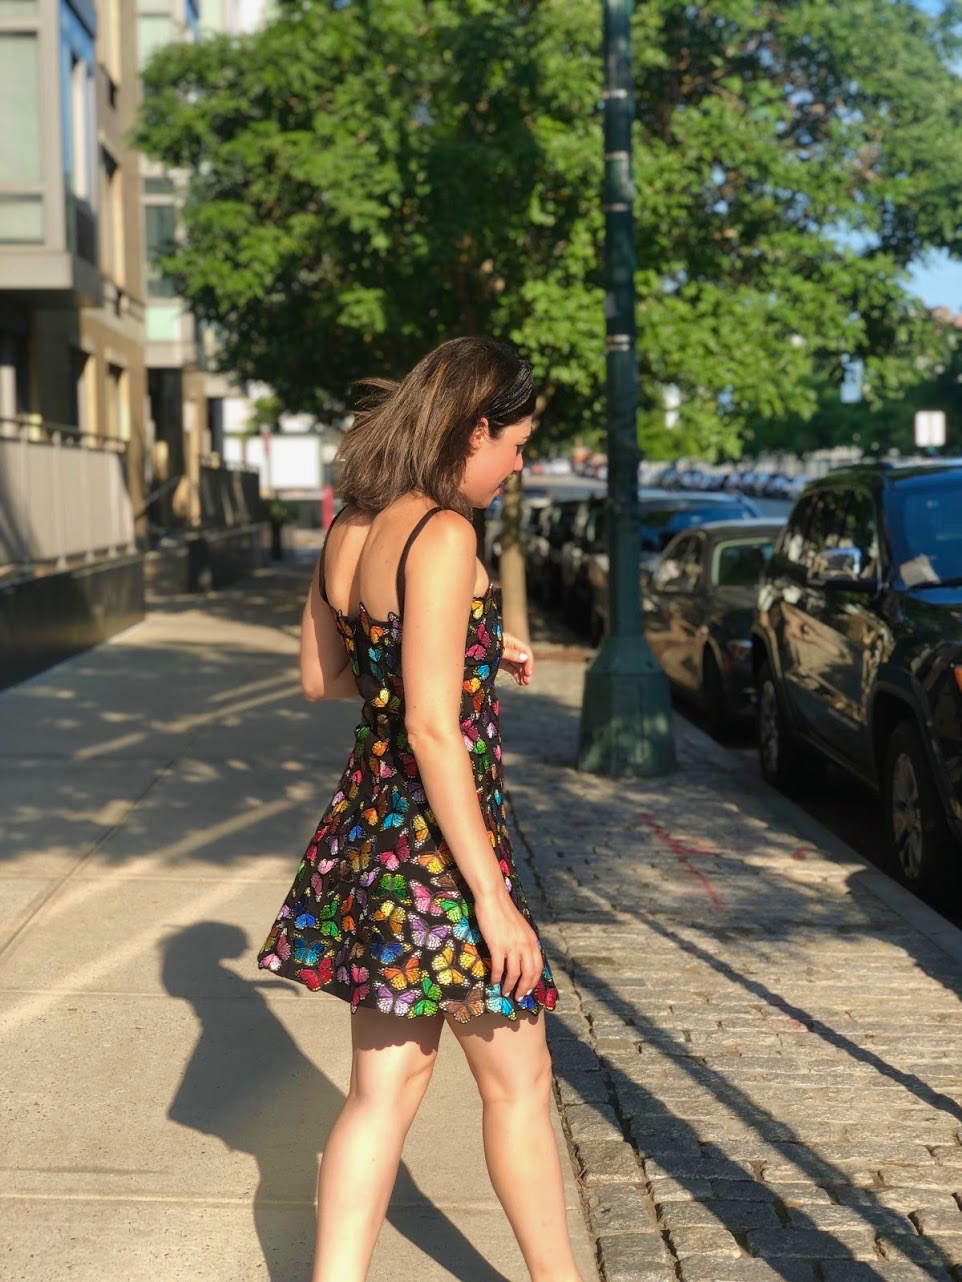
- Even if the base dress you use is moveable, by the end of this DIY your dress WILL be stiff. This is simply because you're essentially putting a bunch of glue on it by ironing on a bunch of adhesive patches to it. This can make your dress a little tighter, and give it a slightly different look, but is moreso just an FYI so you're not surprised if you chose to do this project.
- You might need to cut your patches to fit around the zipper of your dress (if there is one). Obviously you can't cover the zipper area, so you either will need to do some trimming or come up with creative placement ideas.
- Lastly, I did notice that the butterflies I applied in some cases became less sticky and started falling off a bit after a couple months. I simply just touched up my ironing to increase the stickiness. I would say it's definitely best to just make sure they're really stuck the first time around.
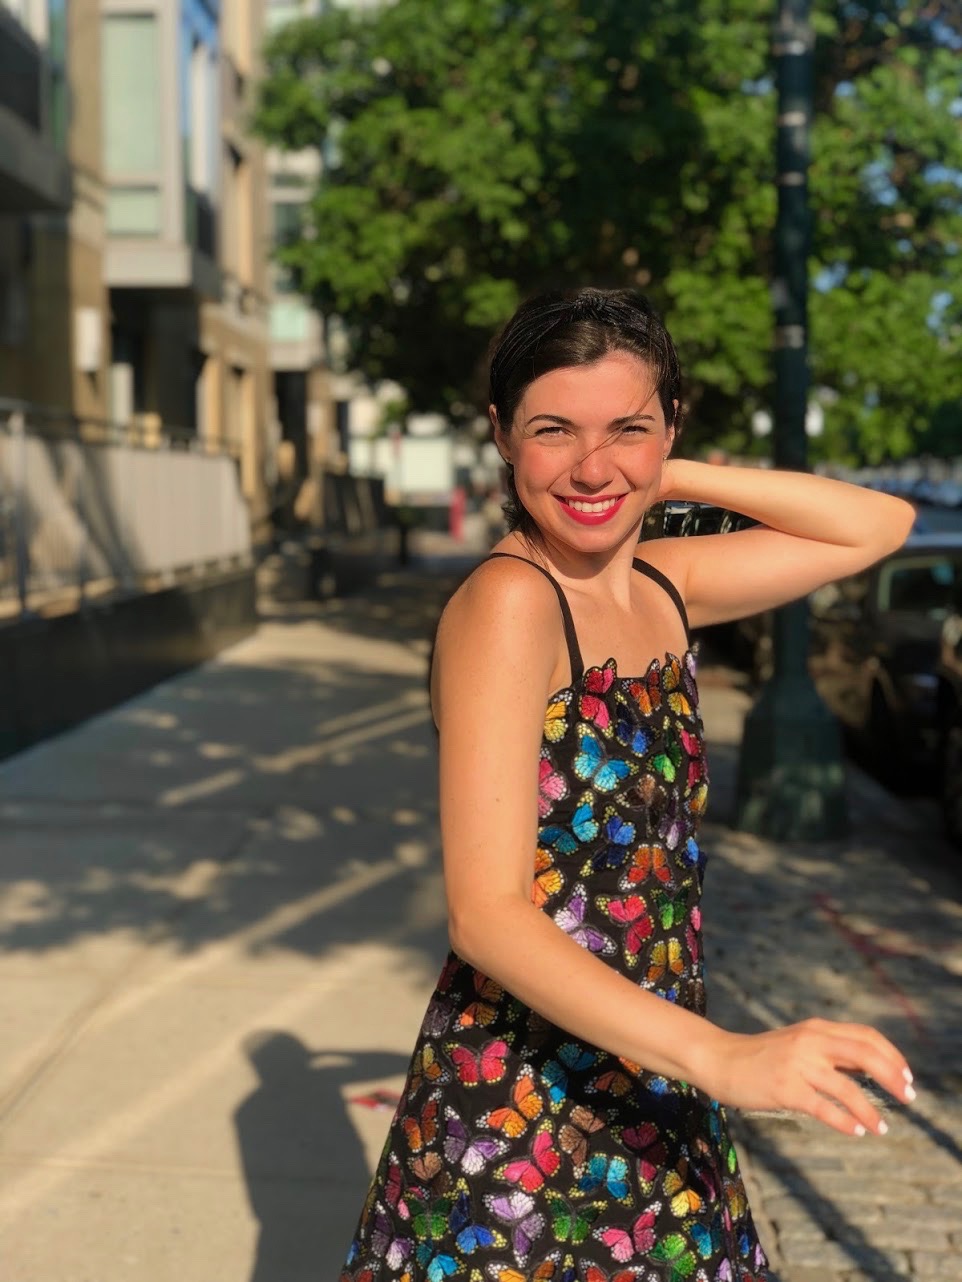
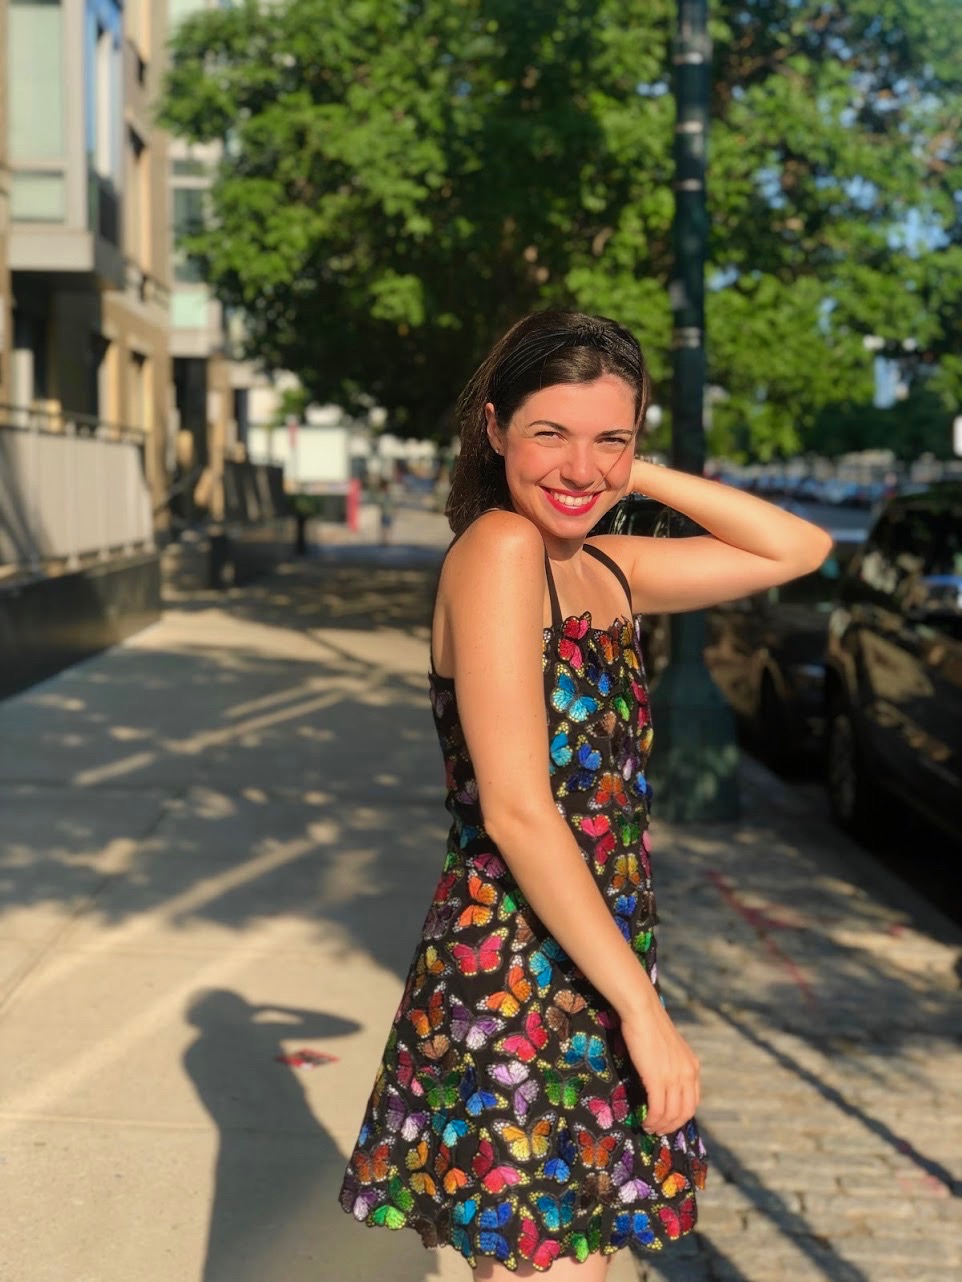
So, there you have it! I paired my butterfly dress with some black heeled ballerina flats and a little velvet black headband, as seen below. Hope you've enjoyed reading about how I created this one-of-a-kind look! xo Sarah